Here’s a CCBOOT for Dummies Tutorial! But it wasn’t that hard to get started in the first place, anyway! These are the very few steps you need to take to be able to install CCBoot successfully to your server PC!

First and Foremost, Get in touch with us! Just use this QR Code to join our discord server and get immediate access to the basic installers.
Psst. We Promise to hook you up with a FREE DEMO!
Pro Tip : Our Support team is always more than happy to help you at any step in the process, feel free to shoot all your questions at us. Remember, this is about educating you about the wonders of Diskless!

Now, Install the CCBoot Server Installer to your Server and Restart your Server
Once your Super Computer a.k.a Server Machine Restarts, It’s time to assign the required disks to your server panel. The panel can be accessed on any web browser. Yes, we hate Internet Explorer as much as your do so, anything but that, Please!
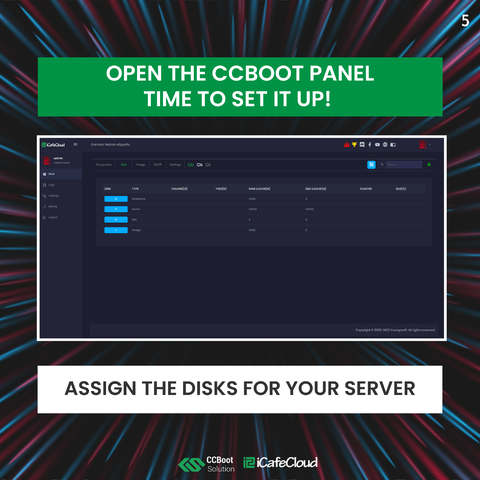
The Disk Assignments are basically a combination of the disks required to address your diskless setup on which disk to use for what purpose viz. Image, Cache, Writeback and Game Disks. This is all it takes to make your client PCs detect the disks on your server. Yes, quite literally just this!
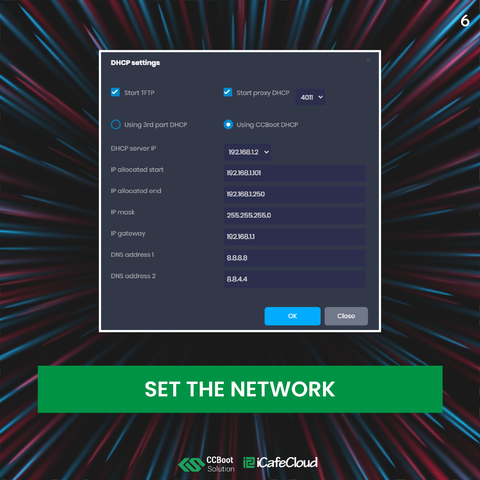
Moving on, we need to make sure our network setup is configured in the right manner AND your DHCP is off! More on why this is important, right here : https://blog.icafecloud.com/diskless-disabling-dhcp/
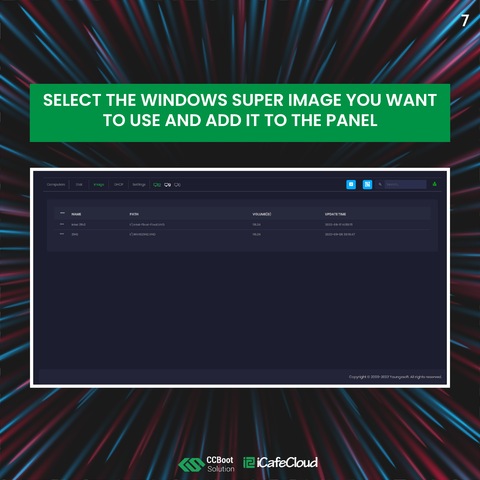
Now, we bring in our Image drive to power. We now assign our required windows image. Before you ask, Yes, our supports will definitely help you create a super image if needed. Remember, we’re here for you!
Once this is done, it’s time to boot your client PCs and give your new diskless setup a test drive!
More info on the same is available here : https://www.ccboot.com/wikis-install-ccboot-server.htm
Want to try it for FREE? Scan the QR Code or DM Us today! Or logon to https://discord.gg/xgS9DrE To get STARTED FOR FREE!