Alright Folks, welcome to your intro to iCafeCloud! If you need to know what this awesome software has in store for you, click here! If you already know how it changes your gaming center management experience for the best and want to know how to install it, let’s dive right into it!
Here are the simple steps you need to follow to be able to install iCafeCloud onto your server machine regardless of it being a diskless management server or an admin PC for your gaming center where you’d want to install it.
To get started, message us on Discord here https://discord.gg/xgS9DrE or scan the QR Code below!

Next, install the application provided by our support team, which is available 24X7 , always ready to help you!
Once you’re done installing the iCafeCloud application on your PC, restart it once. After restart, you will be able to see the iCafeCloud icon on your desktop. Open the application from this shortcut and you’ll be able to see the iCafeCloud Server UI
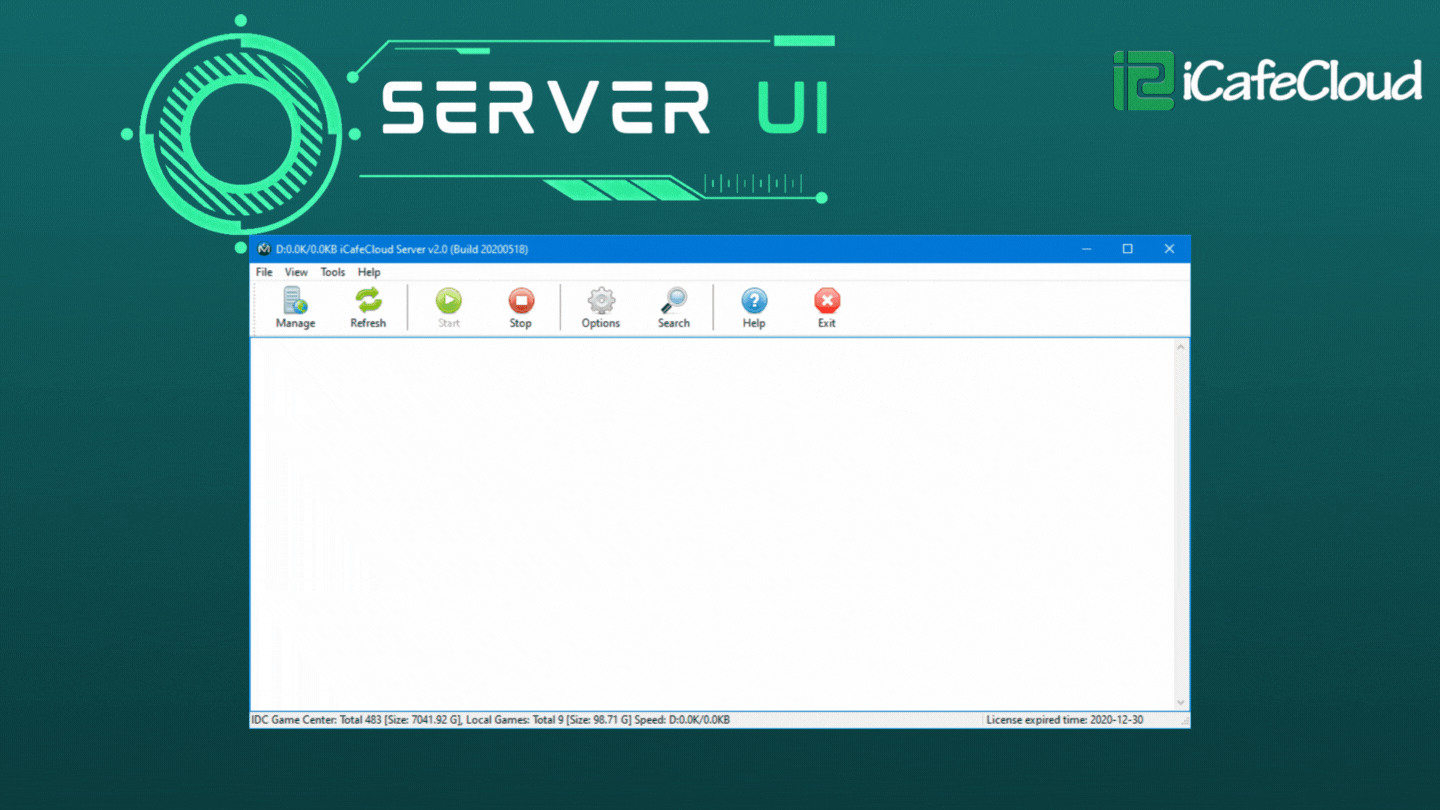
Here, click on “Options” and enter the license and password provided by the support team. This completes your registration for iCafeCloud!
Note : If you are not using a diskless solution from CCBootCloud – Diskless System, check “ using local HDD at client ” and select the client game disk letter path , also check “ Auto update iCafeMenu over LAN”
Once done, hit start and Voila! You’re in for the experience of the greatest cloud based gaming center management software, EVER!